Radon · Source-based buying advice
Best radon detector for your home: how to choose
Find the best radon monitor for your daily use. Compare Home 2, View Plus and RD200 by display, history, power and access.
By EcoGeosEditorial review: October 12, 2026Documentation-based review
Which radon monitor is best for you?
- You want to glance at the screen: start with battery-powered Corentium Home 2.
- You want readings while away and several air measurements: compare Wi-Fi-connected View Plus.
- You want local readings and hourly history: compare plug-in RadonEye RD200.
- You want a first result from a defined test: explore a suitable mail-in kit.
The most useful monitor is the one you can place correctly, read easily and use over time. Start with how you want to check your readings, then compare the complete setup.
Decide what you want to learn
For a result from a defined sampling procedure, compare a kit and its laboratory service. For repeated checks and a continuing record, compare a continuous monitor. Use the kit-versus-monitor guide to choose your method.
Plan the measurement period from the test purpose and instructions. The EPA Citizen’s Guide explains US household testing. For a home sale, confirm the required method and report with your provider.
Find your everyday fit
01Read radon at a glance
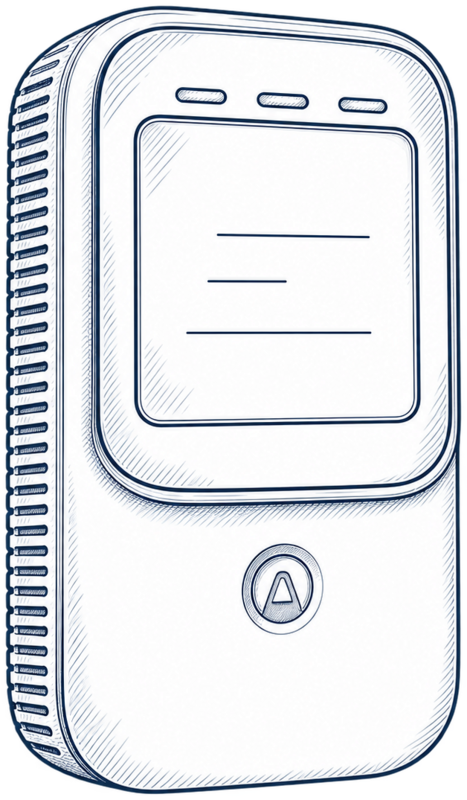
Airthings · Model 325
Corentium Home 2
See your room's radon averages on the screen. Add app history when you want to look back.
- Read radon averages on the display
- Use two AA batteries at your chosen test spot
- Check temperature and humidity too
A good fit for you if you want everyday screen checks and a battery-powered setup.
Your setup: For readings while away, add a compatible Airthings hub.
02Check your readings while away
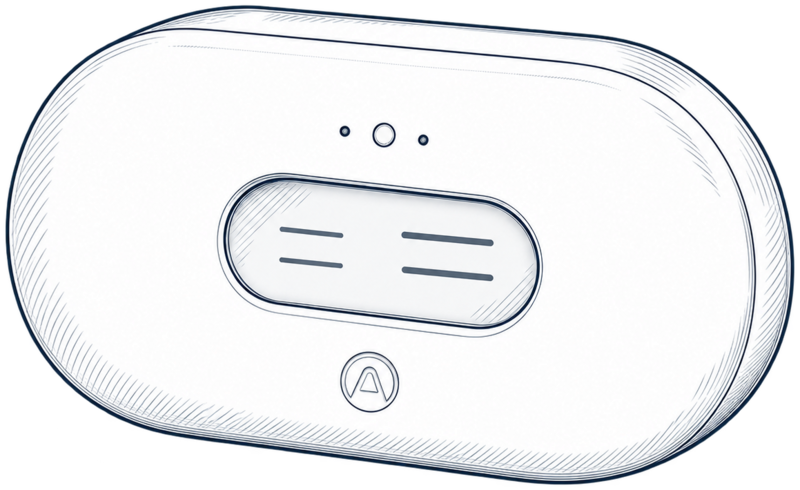
Airthings · Model 2960
View Plus
Follow radon and other air measurements in one app, using your home Wi-Fi.
- Follow radon, particles, CO2 and room conditions
- Open uploaded readings while away
- Choose AA batteries or USB-C power
A good fit for you if you want connected access and will use several air measurements.
Your setup: Use supported 2.4 GHz Wi-Fi; hub mode also needs USB-C power.
03Check radon where you place it
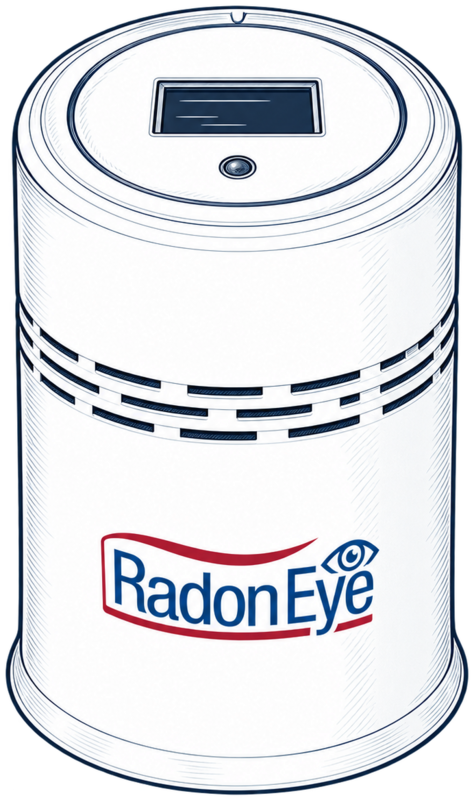
Ecosense · Model RD200
RadonEye RD200
Read the local display and open the hourly record from your nearby phone.
- Read radon on the OLED display
- Connect nearby with Bluetooth
- View and export the hourly record in the app
A good fit for you if you have a suitable powered test spot and prefer nearby access.
Your setup: Use the app to export history and start a new measurement.
I may earn a commission when you buy through these Amazon links.
Choose Home 2 for everyday screen checks and a battery-powered position. Choose View Plus when you want connected access and will use its additional measurements. Choose RD200 for a suitable powered spot and nearby Bluetooth history checks.
Compare what you need to set up
Compare the manufacturer-documented features.| Your decision | Home 2Airthings · Model 325 | View PlusAirthings · Model 2960 | RadonEye RD200Ecosense · Model RD200 |
|---|
| Measurements | Radon, temperature, humidity | Radon, PM2.5, CO2, VOCs, temperature, humidity, pressure | Radon |
|---|
| Power | Two AA batteries | Six AA batteries or USB-C | Plug-in power adapter |
|---|
| Connection | Bluetooth; remote access through a compatible hub | Direct 2.4 GHz Wi-Fi | Bluetooth for nearby access |
|---|
| History and access | Local averages; synced app history and dashboard CSV | Airthings app and dashboard; internet connection needed | Hourly record and text export through the app; record dates when starting a measurement |
|---|
| Look closer | Home 2 review | View Plus review | RadonEye RD200 review |
|---|
Think about where the monitor will sit, how you’ll access it and which records you’ll want later. If you already own a compatible Airthings hub, include it in the comparison: it can provide Home 2’s path to off-site readings.
Set up a monitor in your basement
Choose the testing room first. Then check the device’s operating conditions and arrange power and connectivity around that position. The basement guide takes you through placement.
For readings from elsewhere in the house or while away, check reception in the actual room after setup. Use the remote-access guide to compare the connection equipment.
Choose the features you’ll use
- Saved graphs and exports: plan how you’ll preserve each measurement before a move or reset.
- Particles or CO2 as well as radon: explore View Plus’s sensor set and decide which readings you’ll revisit.
- Device-only controls: check how to start a new measurement; RD200 uses the app for reset.
- An original Corentium Home you already own: compare Home with Home 2 to see whether the extra functions help you.
Make your purchase checklist
Confirm the exact model and US version, seller, included power equipment and connection hardware. Open the model review for setup details, then compare the current retailer offer.
Each review links to the manuals and specifications behind the comparison. See how the research works.
 Clarity for your home.